
In the molded pulp production process, the transition of the wet blank from the forming mold to the transfer mold (or directly to the hot press/drying line) is a critical bottleneck. Frequent tearing, localized breakage, or dropping of the wet blanks during this phase can severely damage your overall yield rate and disrupt the production rhythm.
When addressing this issue, it is a mistake to point fingers solely at the tooling engineers or the machine operators. Solving wet part transfer failure requires diagnosing the interaction between mold design and equipment pneumatics. The key lies in synchronizing four core variables: wet blank strength, mechanical transfer precision, vacuum switching timing, and pick-and-place rhythm.
Step 1: Evaluating Wet Blank Strength vs. Release Resistance
During the exact moment of transfer, the wet blank must endure the positive pressure from the forming mold’s blow-off and the pulling suction from the transfer mold’s vacuum. If the blank is structurally weak or the mold’s release resistance is too high, breakage is inevitable.
-
Slurry Properties and Forming Vacuum: Check the freeness (drainage rate) of your pulp slurry. Poor drainage or insufficient vacuum at the forming station leads to excessively high moisture content. A soggy wet blank lacks the tensile strength needed to survive the mechanical pull of the transfer process.
-
Mesh Condition and Tooling Surface: Inspect the wire mesh covering the forming molds. Damaged, clogged, or loose mesh reduces local vacuum suction, causing uneven thickness and creating weak spots that tear easily during transfer.
-
Draft Angle Verification: If the products are tearing in deep-cavity areas, recalculate the mold’s draft angles. An inadequate draft angle exponentially increases release resistance, practically tearing the part apart during extraction.
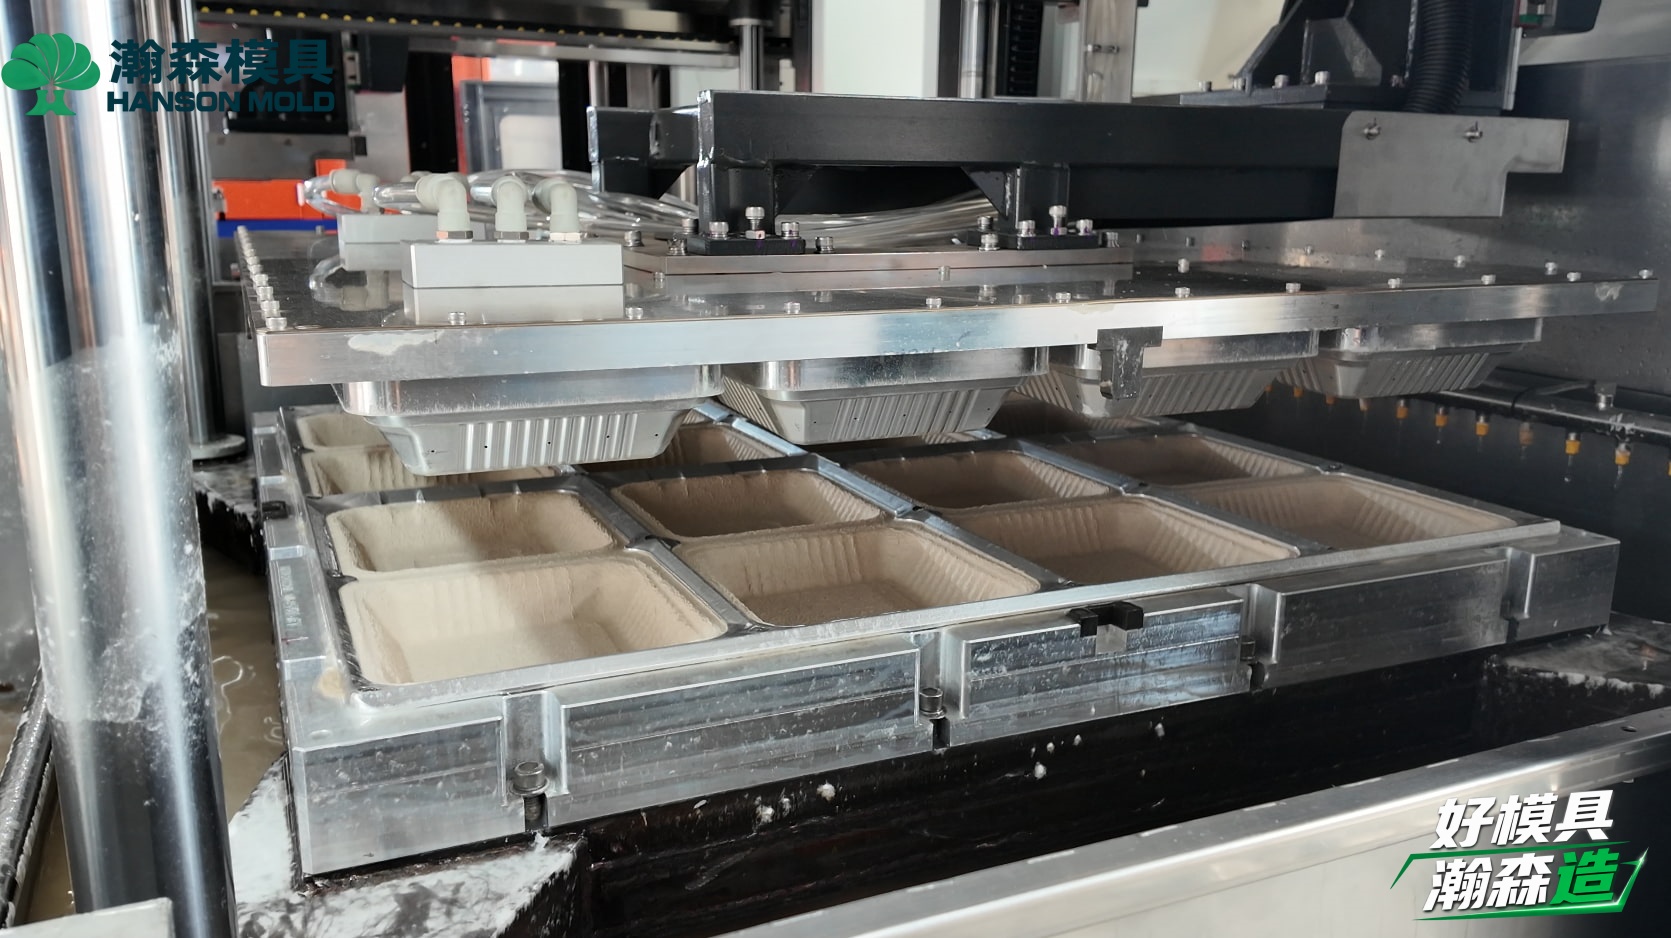
Step 2: Precision in Transfer Alignment and Vacuum Switching
The physical interaction of the molds must perfectly match the millisecond timing of the machine’s pneumatic systems.
-
Mechanical Alignment Testing: Is there interference or misalignment when the forming mold and transfer mold converge? Hanson Pulp Molding recommends applying marking compound on the mold edges to test the closure footprint. Check for worn guide pins/bushings that might cause top-and-bottom mold misalignment.
-
The Vacuum and Blow-off “Relay”: A flawless transfer is a seamless relay race between the forming mold’s “blow-off” and the transfer mold’s “vacuum suction.” If the transfer vacuum engages too late, the blank won’t be secured. If the forming mold’s blow-off is too aggressive or starts too early, the blank will be blown out of shape or destroyed. Always review the pneumatic valve delay settings frame-by-frame on your PLC panel.
Step 3: Synchronizing the Pick-and-Place Rhythm
If the machine’s cycle time outpaces the physical limits of the tooling and the material, the transfer will fail.
-
Transfer Arm/Rotary Speed: Does the transfer mechanism decelerate smoothly before mold closure? Harsh mechanical impacts can shake the wet blank loose from the transfer mold due to inertia.
-
Forming and Dehydration Time: Slightly extending the vacuum duration after forming can significantly increase the initial wet strength of the blank, providing the physical integrity needed for a fast transfer. Never blindly shorten the forming cycle just to increase theoretical output capacity.
How Hanson Pulp Molding Approaches Tooling Diagnostics
If you have optimized your slurry and machine settings but the breakages persist in specific mold cavities, the core issue likely resides in the tooling’s internal engineering. Hanson Pulp Molding operates an independent tooling division with 500 pulp molding molds manufactured to date. We understand that internal water channel and air chamber designs dictate release performance. Uneven air chamber distribution or improper drilling density leads to concentrated air blasts that punch holes right through the wet blank.
Leveraging high-speed CNC machining centers and advanced 3D scanning inspection, our engineering team can accurately diagnose defects in older molds. We provide comprehensive solutions ranging from tooling retrofits to on-site sample reviews and volume production support, ensuring your tools and equipment work in perfect harmony.
-
FAQ
-
Q: Why does the transfer work perfectly with a new mold, but breakages start after a few days of production? A: This usually happens because the wire mesh or vacuum holes become gradually clogged by micro-fibers and chemical additives in the slurry. This reduces air permeability and increases release friction. Regular high-pressure water cleaning and scheduled acid washing are recommended.
-
Q: Our products always tear at the edges during transfer. Is this a mold design flaw? A: Not necessarily. While insufficient draft angles at the edges can cause this, you must also check the mechanical alignment of the transfer press. If worn guide rails cause the top and bottom molds to misalign, the edges will be pinched and torn mechanically.
-
Q: How can I tell if the breakage is caused by weak vacuum or excessive blow-off air? A: Use the isolation method. Turn off the transfer mold’s vacuum and observe the blow-off action: if the wet blank is blown completely out of shape, the blow-off pressure is too high. Then, reduce blow-off and turn the vacuum back on: if the blank drops, the transfer vacuum is either too weak or engaging too late.
-
-
Struggling with high scrap rates due to wet part transfer failures? Reach out to Hanson Pulp Molding for expert tooling evaluation and on-site support. Let our engineers optimize your molds for seamless production. [+86 15920604830].