
It is one of the most frustrating bottlenecks in molded fiber packaging manufacturing: the newly developed tooling performs flawlessly during the factory trial. The dimensions, weight, and surface finish of the samples are perfect. However, once the mold is installed on the continuous production line for a 24-hour run, problems like wet spots, poor demolding, warping, and frequent machine stoppages begin to plague the operation.
The operational environment of a short pilot run (a few dozen cycles) is vastly different from continuous mass production (thousands of cycles). When facing mass production issues, do not rush to modify the CNC data of the tooling. Restoring stable production requires a systematic troubleshooting approach prioritizing equipment parameters, slurry consistency, continuous tooling status, and post-processing dynamics.
1. Check for Slurry System Fluctuations
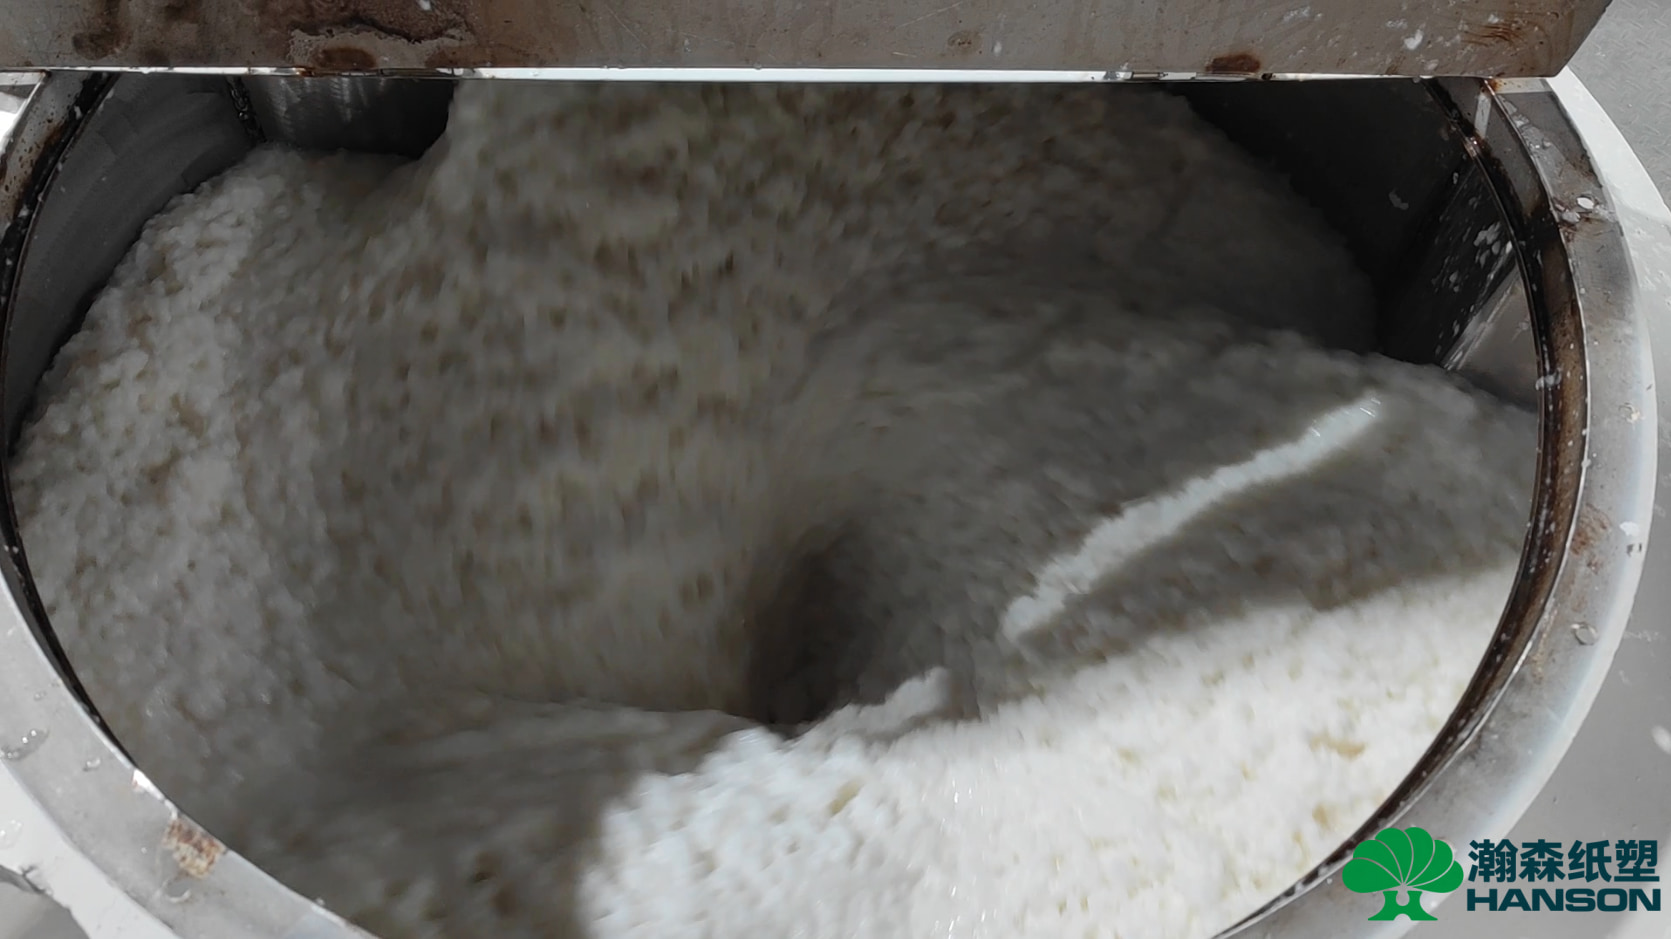
During a tooling trial, the slurry is usually a freshly prepared, perfectly balanced batch. In continuous production, the integration of white water recycling systems causes dynamic shifts in pulp properties, which is the leading cause of weight inconsistencies and poor forming.
-
Freeness (CSF) Shifts: In continuous running, if the Canadian Standard Freeness (CSF) drops (meaning slower drainage), the forming time must be extended. If cycle times remain unchanged, the wet product will contain too much moisture, leading to tearing during robotic transfer.
-
Consistency and Temperature: Check for consistency stratification in the holding tanks and piping. In facilities with significant ambient temperature changes, pulp temperature fluctuations directly alter how fibers interlock and accumulate on the forming mesh.
-
Actionable Step: At the start of a mass production run, sample the slurry consistency and freeness every two hours to ensure it matches the baseline data from the trial run.
2. Monitor Vacuum and Compressed Air Pressure Drops
Trial runs are typically executed on isolated machines with an abundant supply of vacuum and compressed air. In a busy production plant, multiple machines draw from the same central manifold, causing pressure peaks and valleys.
-
Vacuum Instability: The dewatering process relies heavily on a strong, stable vacuum. If the central vacuum pump’s capacity falls short during simultaneous cycles, the mold will fail to draw enough pulp in deep cavities or complex corners, or leave excess water that turns into steam bubbles during hot pressing.
-
Insufficient Blow-back Air: Transferring the wet part requires a synchronized, powerful burst of compressed air (blow-back). Inadequate air pressure prevents the product from cleanly detaching from the forming mold, resulting in adhesion and machine stops.
-
Actionable Step: Observe the machine’s analog or digital gauges during peak cycle moments. Significant pressure drops indicate a need to adjust manifold distribution or install localized buffer tanks.
3. Tooling Thermal Balance and Mesh Blinding
Once material and equipment variables are ruled out, evaluate how the physical state of the tooling changes under continuous thermal stress. This is exactly why Hanson Pulp Molding integrates continuous thermal field simulations during the initial design phase.
-
Thermal Imbalance in Hot Pressing: The constant introduction of wet pulp continuously drains heat from the pressing molds. If the heating element distribution is flawed or thermal conductivity is interrupted, the mold will develop cold spots (causing adhesion) and hot spots (causing scorch marks).
-
Mesh Blinding: The wire mesh is perfectly clean during a trial. However, after hundreds of cycles, fine fibers, fillers, and scale can blind the mesh pores. This reduces the open area, leading to thinner walls and longer forming times. With the experience of 500 pulp molding molds manufactured to date, Hanson Pulp Molding applies specialized back-drilling and ventilation channel designs to maximize the time between mandatory cleaning cycles.
-
Actionable Step: Use an infrared thermometer to scan different zones of the hot press mold mid-cycle. Schedule ultrasonic cleaning or high-pressure washing for the forming mesh and observe if the defects temporarily disappear.
4. Transfer Dynamics and Post-Processing Interference
The seamless rhythm of mass production relies on the precise calibration of transfer arms and consistent post-processing environments.
-
Transfer Arm Misalignment: Prolonged high-frequency vibration can cause microscopic shifts in robotic arm coordinates. Even a 1-2 mm offset can cause the transfer mold to crush the edge of the wet part, leading to torn flanges.
-
Drying Shrinkage Variance: For dry-press (traditional) molded pulp, uneven airflow or temperature zones in a continuous drying tunnel will cause differential shrinkage. Products that passed the trial might suddenly fail dimensional QA.
-
Actionable Step: Run a few cycles at a reduced speed. Visually verify the alignment at the exact moment the transfer mold meets the forming mold. Inspect the edges of rejected parts for signs of mechanical friction.
Conclusion & Service Recommendations Transitioning a molded pulp product from prototype to stable mass production is a rigorous engineering challenge. It demands seamless synergy between the process, the equipment, and the tooling. Before altering your molds, let the data (pressure, temperature, slurry specs) guide your troubleshooting.
If you are struggling with a new mold ramp-up or continuous downtime on legacy tooling, Hanson Pulp Molding’s dedicated tooling team is here to help. We offer professional tooling evaluation and on-site troubleshooting support to help you achieve your targeted yield. Contact us for technical assistance: [International contact to be confirmed].
B3 English Additional Information
-
English FAQs
-
Q: Why was the product weight consistent during the trial, but fluctuates wildly during mass production? A: This is rarely a tooling issue. It is typically caused by pulp consistency stratification in your tanks or unstable vacuum pressure when multiple machines operate simultaneously. Check your slurry agitation and vacuum manifold stability.
-
Q: The product starts sticking to the hot press mold after half a day of running. Is the surface polish inadequate? A: If the mold releases perfectly for the first few hours, the draft angles and surface polish are likely fine. Sticking after several hours usually indicates a drop in localized tooling temperature (heat loss to wet pulp) or progressive blinding of the wire mesh, which restricts the blow-back air.
-
Q: The wet part keeps falling during robotic transfer. How do I know if it’s the machine or the mold? A: Try adjusting the timing overlap between the forming blow-back and the transfer vacuum. If the part still drops, inspect if the suction holes in the transfer mold are blocked by pulp debris, or verify if the drafted angles machined into the forming mold are too aggressive.
-