
Finding deep, abnormal mesh marks (or mesh impressions bleeding through to the cosmetic side) on molded pulp products often leads operators to blame the tooling. However, the mold is rarely the sole culprit. While a loose wire mesh wrapping or incorrect mesh count on the suction mold is a direct trigger, poor pressing flatness in the equipment, improper hot-pressing parameters, and the characteristics of the pulp slurry play equally critical roles. When troubleshooting on the factory floor, diagnosing the tooling, equipment, and process variables in the correct sequence is essential.
1. Tooling Diagnostics: Wire Mesh Wrapping and Mesh Layers
The wire mesh on the suction mold separates the water from the fiber. If the tooling is responsible for the mesh marks, the problem usually stems from two areas:
-
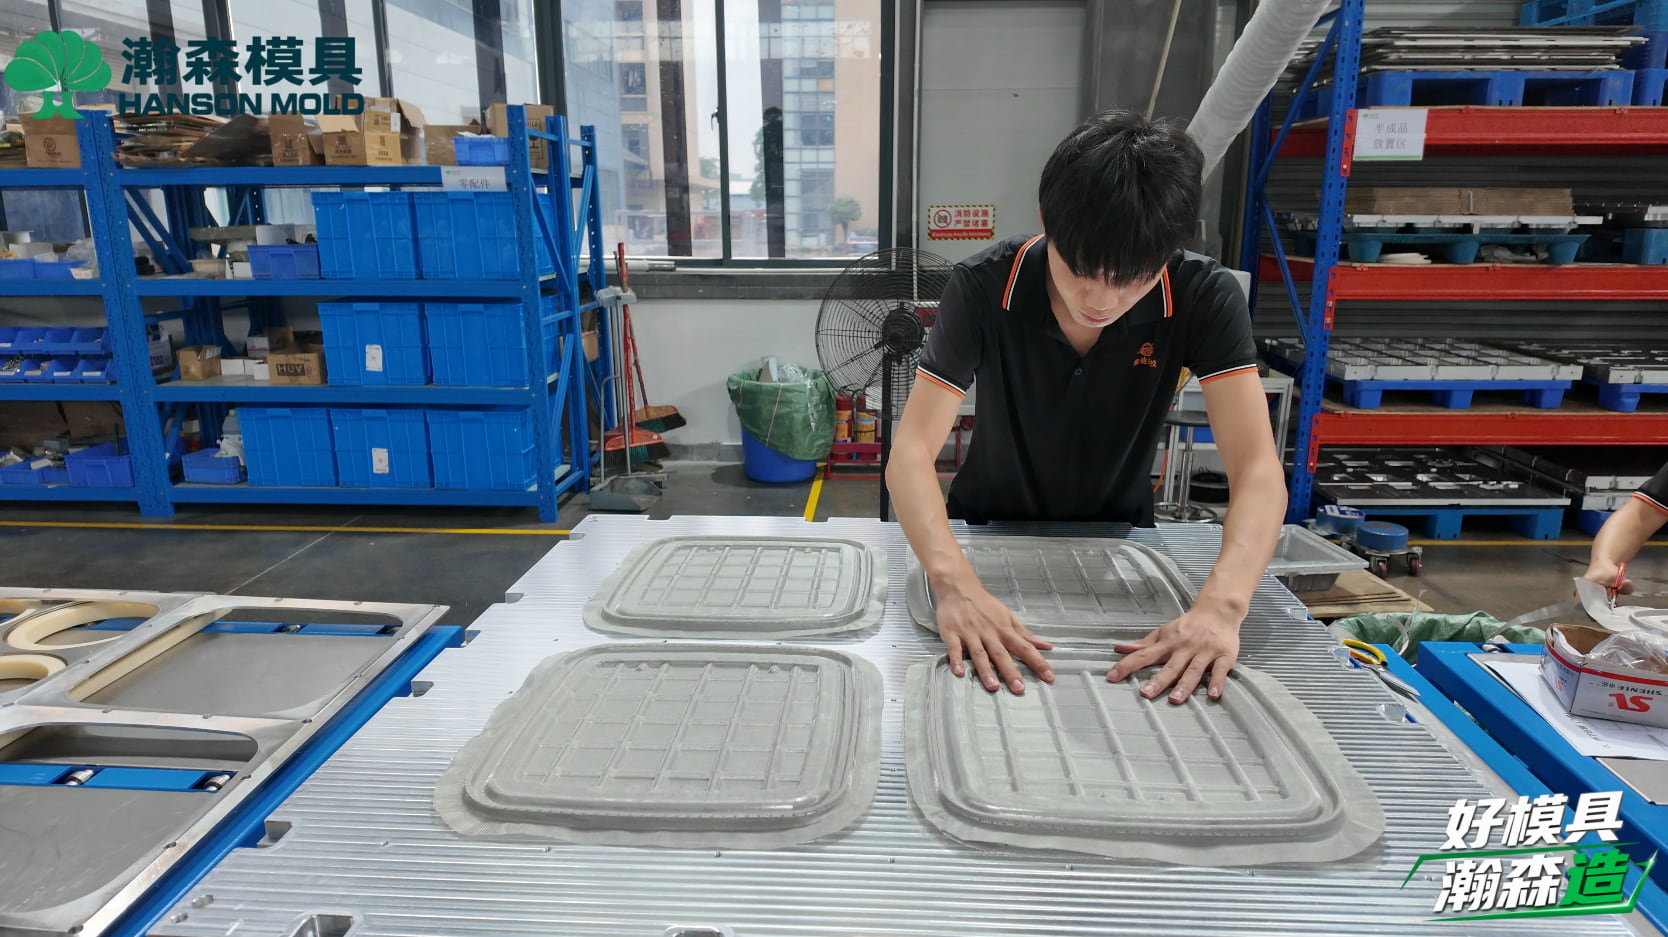
Mesh Wrapping Fit and Deformation: Properly wrapping a mold—one of the core 12 manufacturing steps for tooling—requires extreme precision. If the forming mesh does not tightly conform to the backing mesh and the underlying CNC-machined geometry, or if it bulges after repeated pressure cycles, irregular mesh marks will form.
-
Mesh Count and Wire Diameter: Using a mesh count that is too low for the required cosmetic finish allows fibers to embed deeply into the openings. Evaluate the product specifications and replace the wire mesh with appropriate layers.
2. Equipment Diagnostics: Pressing Flatness and Hot-Pressing Parameters
Often, deep mesh marks are forced into the product during the hot press stage rather than the forming stage.
-
Pressing Flatness Deviations: If the upper and lower halves of the hot-pressing mold are misaligned, or if the pressing clearance is uneven, localized areas will experience extreme clamping pressure. This intense force permanently embosses the wire pattern into the pulp.
-
Pressure and Temperature Settings: Aggressive hot-pressing conditions (excessive pressure or temperatures that interfere with vapor expansion) crush the paper fibers before they cure. Run on-site trials by gradually reducing the hydraulic clamping pressure to see if the cosmetic finish improves.

3. Process Diagnostics: Slurry Formulation and Forming Conditions
The drainage rate and fiber condition significantly influence surface texture. Do not mistake a slurry issue for a mold failure.
-
Slurry Characteristics: If the hydrapulper leaves the fibers too long, or if the slurry concentration in the tank is too low, the forming process will require a longer vacuum suction time. This high volume of water forcefully drags fibers deeper into the mesh, leaving stark impressions.
-
Vacuum Suction Time: Excessive negative pressure from the forming station pulls fibers aggressively. Try moderately reducing the vacuum level or shortening the suction time, then compare the before-and-after yield data.
4. Hanson Pulp Molding: Tooling Optimization and Production Support
If process adjustments fail to eliminate the defect, the root cause is likely poor mold cavity geometry or structural misalignment in the old tooling. Simple manual hammering or patchwork will not fix dimensional issues.
With an independent tooling division and 500 pulp molding molds manufactured to date, Hanson Pulp Molding possesses deep expertise in identifying and resolving these defects. For older molds running on non-Hanson equipment, we offer a dedicated Old Tooling Optimization → Mass Production Support pathway. Utilizing high-speed CNC machining (up to 24,000 RPM) for precision refinishing and 3D scanning to verify pressing flatness, we ensure uniform cavity clearance. Once the geometry is perfected, our technicians re-wrap the mesh and conduct thorough trial runs, ensuring the mesh mark issue is completely eradicated.
B3 English Additional Information
-
English FAQs:
-
Why do mesh marks appear on the smooth (cosmetic) side? Mesh marks transferring to the smooth side usually indicate severe unevenness in the hot-pressing mold’s clearance or localized thin spots in the pulp. The extreme, uneven pressure forces the mesh texture completely through the substrate. Use 3D scanning or layout fluid (Prussian blue) to check the pressing gap.
-
Will changing to a finer wire mesh solve the problem? A higher mesh count can improve surface smoothness, but if the slurry has low freeness or the hot press is unbalanced, a finer mesh will easily clog and cause demolding failures. Tooling and process adjustments must happen together.
-
How do I tell if the mesh is loose or the hot press is misaligned? Press the wire mesh by hand; visible floating or slack indicates loose wrapping. If the mesh is tight but station operation videos show mechanical rubbing or excessive localized force upon closing, misalignment in the hot press is the likely cause.
-
-
CTA: Struggling with persistent mesh marks or dimensional defects on your molded pulp products? Contact Hanson Pulp Molding for expert tooling evaluation and on-site optimization support. [International contact to be confirmed]